Category: DIY
-
Photoshop AI Generative Infill tool
🎨 Photoshop’s AI Generative Infill: How Adobe’s Firefly is Revolutionizing Image Editing 🤖 My First Hands-On Experience with Photoshop’s Mind-Blowing AI Fill Tool Adobe just dropped one of the most game-changing features in Photoshop history 🎯 The Generative Infill tool, powered by their Firefly AI 🤖🔥, is now available in Photoshop Beta — and I…
-

I competed in the Kitbash3D Mission to Minerva contest
I recently competed in a competition for Kitbash3D’s Mission to Minerva challenge. I’ve never actually worked professionally in photorealism or CGI before but I figured I could learn along the way during the competition. Honestly the prizes for the competition were pretty modest, the grand prize all together may have only been worth about $2,500…
-
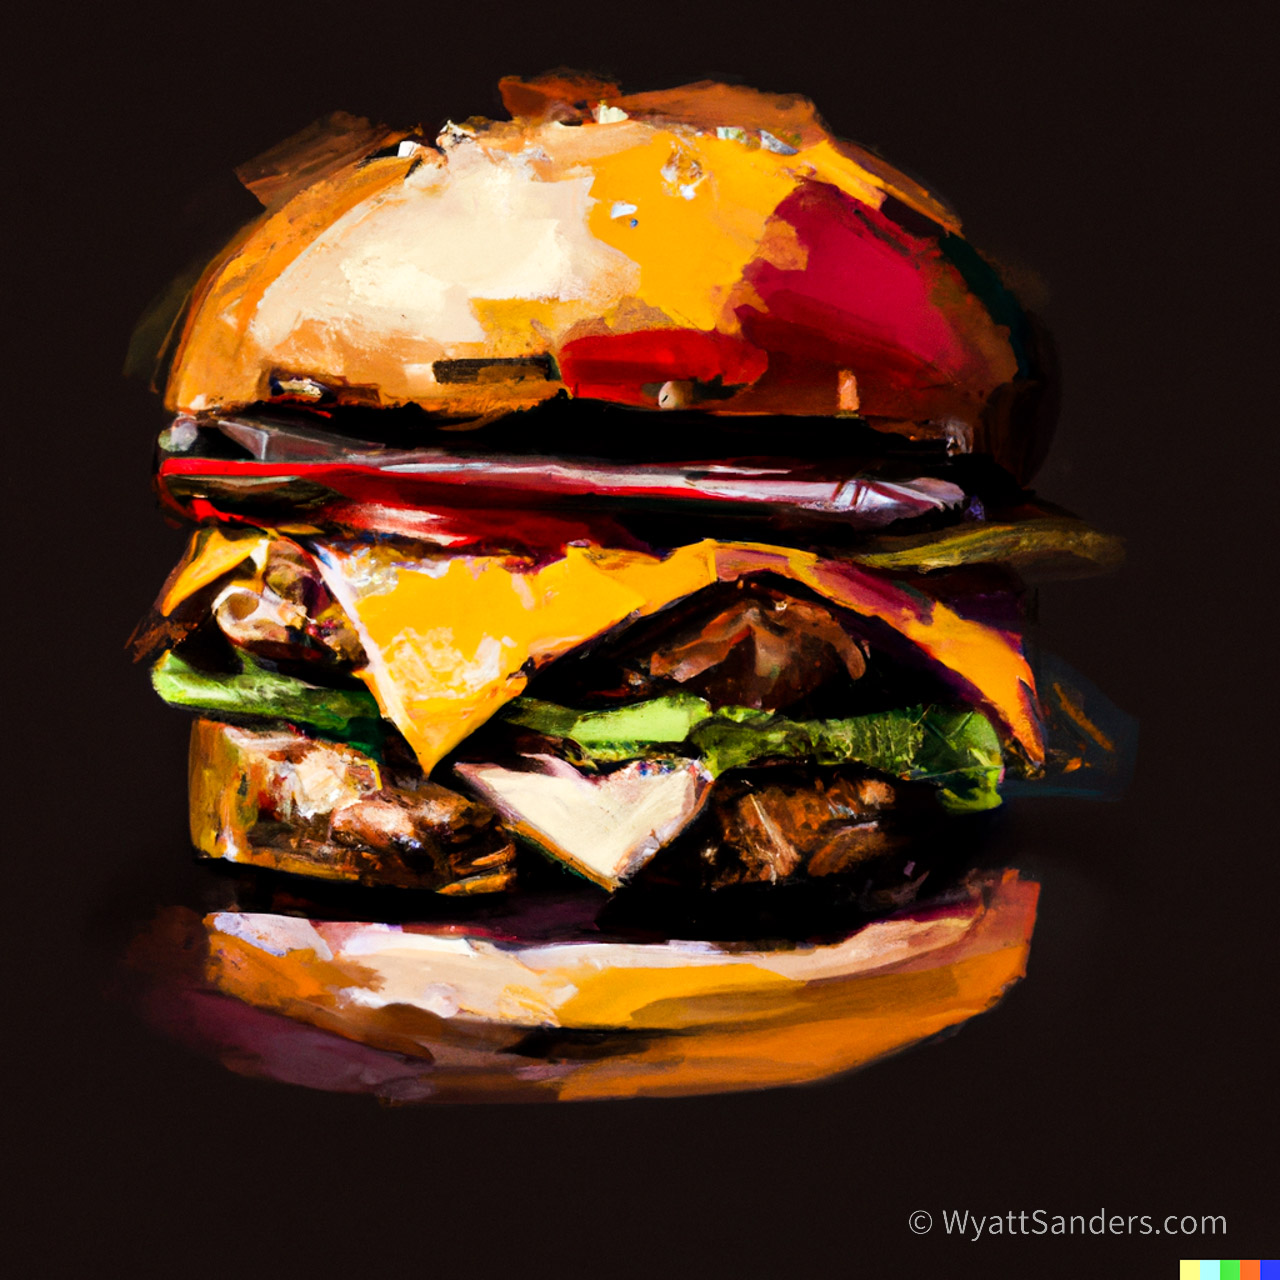
How to Make Burgers and Clean in 5 Minutes
Burgers are a classic American food that can be enjoyed by people of all ages. They are perfect for cookouts, parties, or a quick meal at home. While burgers are typically cooked on a grill, it is possible to make them without one. This guide will show you how to make burgers in 5 minutes…
-

How to Replace Tube Lights DIY
Replacing fluorescent tube lights with LED lights is a simple DIY project that can be completed in a matter of minutes. First, remove the old tube light from the fixture. Next, disconnect the wires and remove the ballast. Then, insert the new LED tube light into the fixture and connect the wires. Finally, turn on…
-
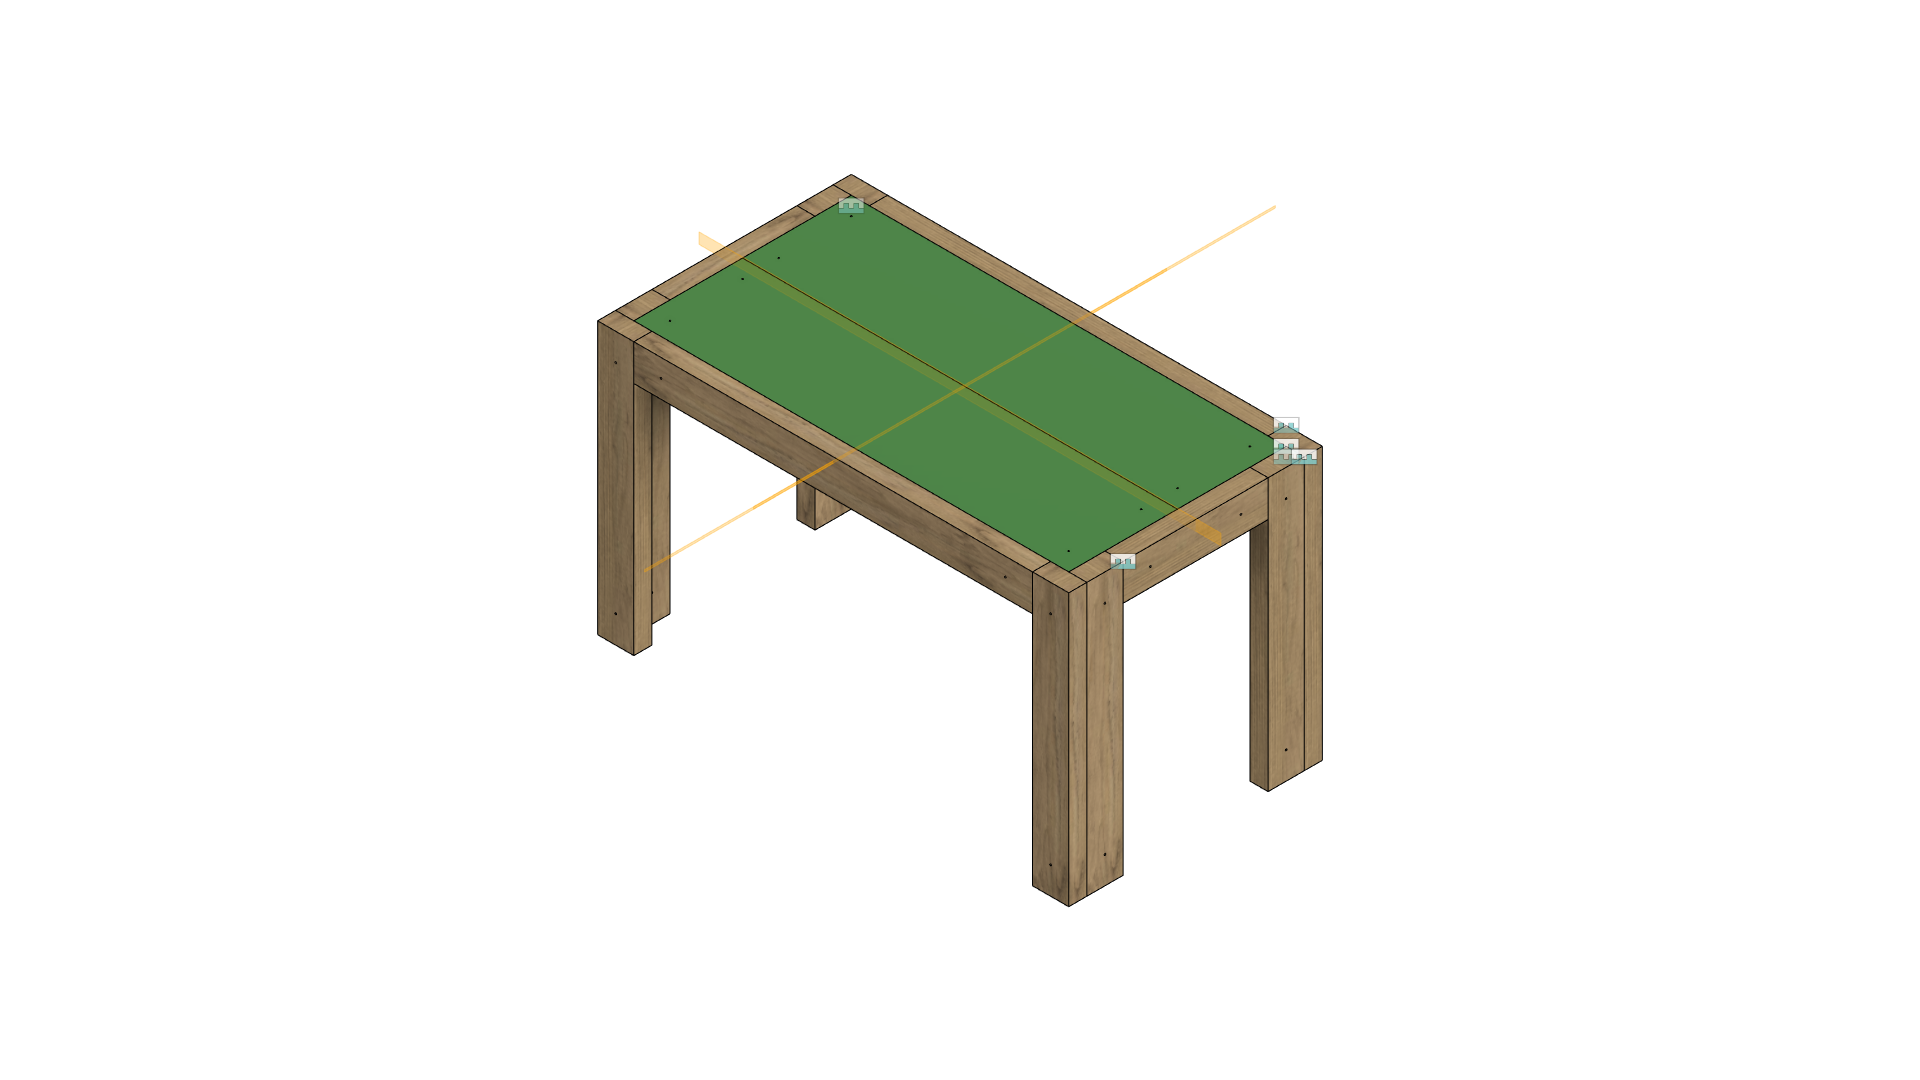
DIY Work Table
I designed and built a DIY work table out of wood. I’ve recorded all the video for it to youtube which I’ll show here I’ve posted an instructable here: https://www.instructables.com/DIY-Wood-Work-Table/ You can download the CAD design files from GrabCAD here: https://grabcad.com/library/wood-work-table-3